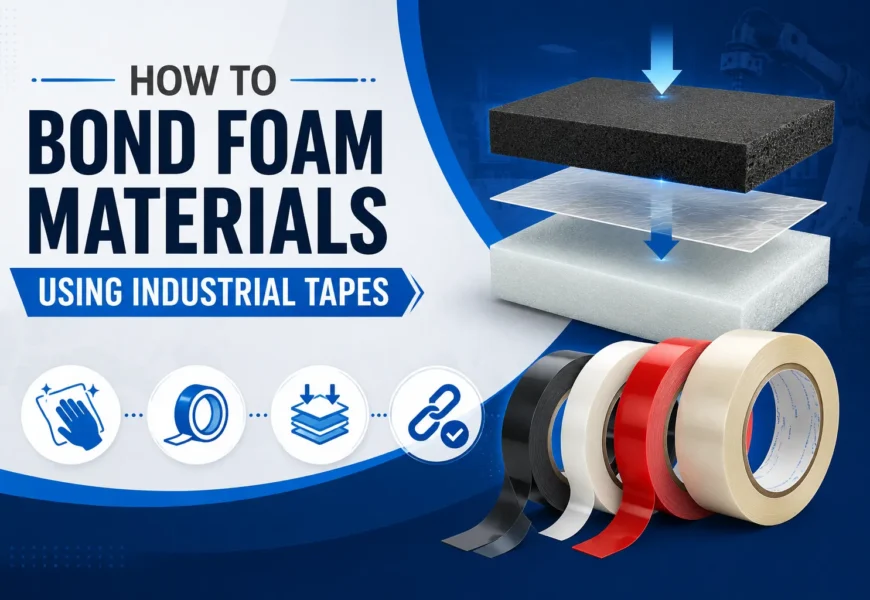
Foam is one of the trickiest materials to bond well. Its surface is soft, uneven, and often porous, which makes it behave very differently from a flat sheet of metal or glass. Yet foam bonding tapes are used everywhere — from automotive weatherstripping and appliance gaskets to electronics enclosures and construction insulation — because tape solves problems that screws, rivets, and liquid glue can’t. This guide walks through exactly how industrial tapes bond to foam, how to choose the right one, and how to apply it correctly for a bond that lasts.
Why Foam Is Difficult to Bond
Most adhesives perform best on flat, smooth, high-surface-energy materials like stainless steel, where the adhesive can spread evenly and make full contact. Foam works against nearly all of those conditions:
- Uneven, porous surface — foam is full of tiny cells, folds, and irregularities that make it hard for an adhesive to “wet out” and fill every gap
- Low density and compressibility — foam compresses under pressure, which changes how much surface area actually contacts the adhesive
- Wide material variety — polyurethane, polyethylene, EVA, neoprene, and silicone foams all have different chemistries and require different adhesive matches
- Cohesive weak points — foam itself can tear internally before the adhesive bond fails, since the foam’s own structure is often weaker than the adhesive holding it
Understanding these challenges is the first step to selecting a tape that actually works, rather than one that looks strong on paper but fails in the field.
How Foam Bonding Tape Is Built
A typical double-sided foam bonding tape has three main components:
- Foam carrier — the core layer that provides cushioning, gap-filling, and vibration or sound dampening. Carrier density (soft, medium, or firm) and cell structure (open or closed cell) determine how well it compresses, seals, and holds up over time.
- Adhesive coating on both faces — bonds the foam carrier to the two substrates being joined. The adhesive type (acrylic, rubber, or silicone) is chosen based on what surfaces the tape needs to stick to.
- Release liners — protective films peeled away right before application, keeping the adhesive clean and ready to bond.
Some manufacturers use a direct wet-coat process, where liquid adhesive is applied straight onto the foam and allowed to seep into its cellular structure, rather than laminating a separate adhesive film onto the foam’s surface. Wet-coated tapes generally resist delamination better than laminated transfer tapes, since the adhesive becomes mechanically locked into the foam itself.
Also read our article on How differential adhesive tapes work in industrial applications?
Choosing the Right Adhesive for Your Foam Type
Adhesive chemistry has to match both the foam and the substrate it’s being bonded to:
| Adhesive Type | Best For | Notes |
|---|---|---|
| Acrylic | General-purpose bonding to metal, plastic, glass, painted surfaces | Strong permanent bond, good UV and temperature resistance |
| Rubber | Interior, temperature-stable environments | Excellent initial tack, cost-effective, less resistant to heat extremes |
| Silicone | Bonding to silicone foams, sponges, and high-temperature applications | Best match for silicone-based foams; performs well across wide temperature ranges |
A simple rule of thumb: similar materials bond best to similar materials, so silicone adhesive is generally the strongest choice for silicone foam, while acrylic or rubber adhesives handle standard polyurethane and polyethylene foams bonding to conventional substrates such as metal or plastic. For projects that need to bond foam to two different materials, differential tapes — with a different adhesive on each face — can solve the mismatch directly.
Step-by-Step: How to Bond Foam With Industrial Tape
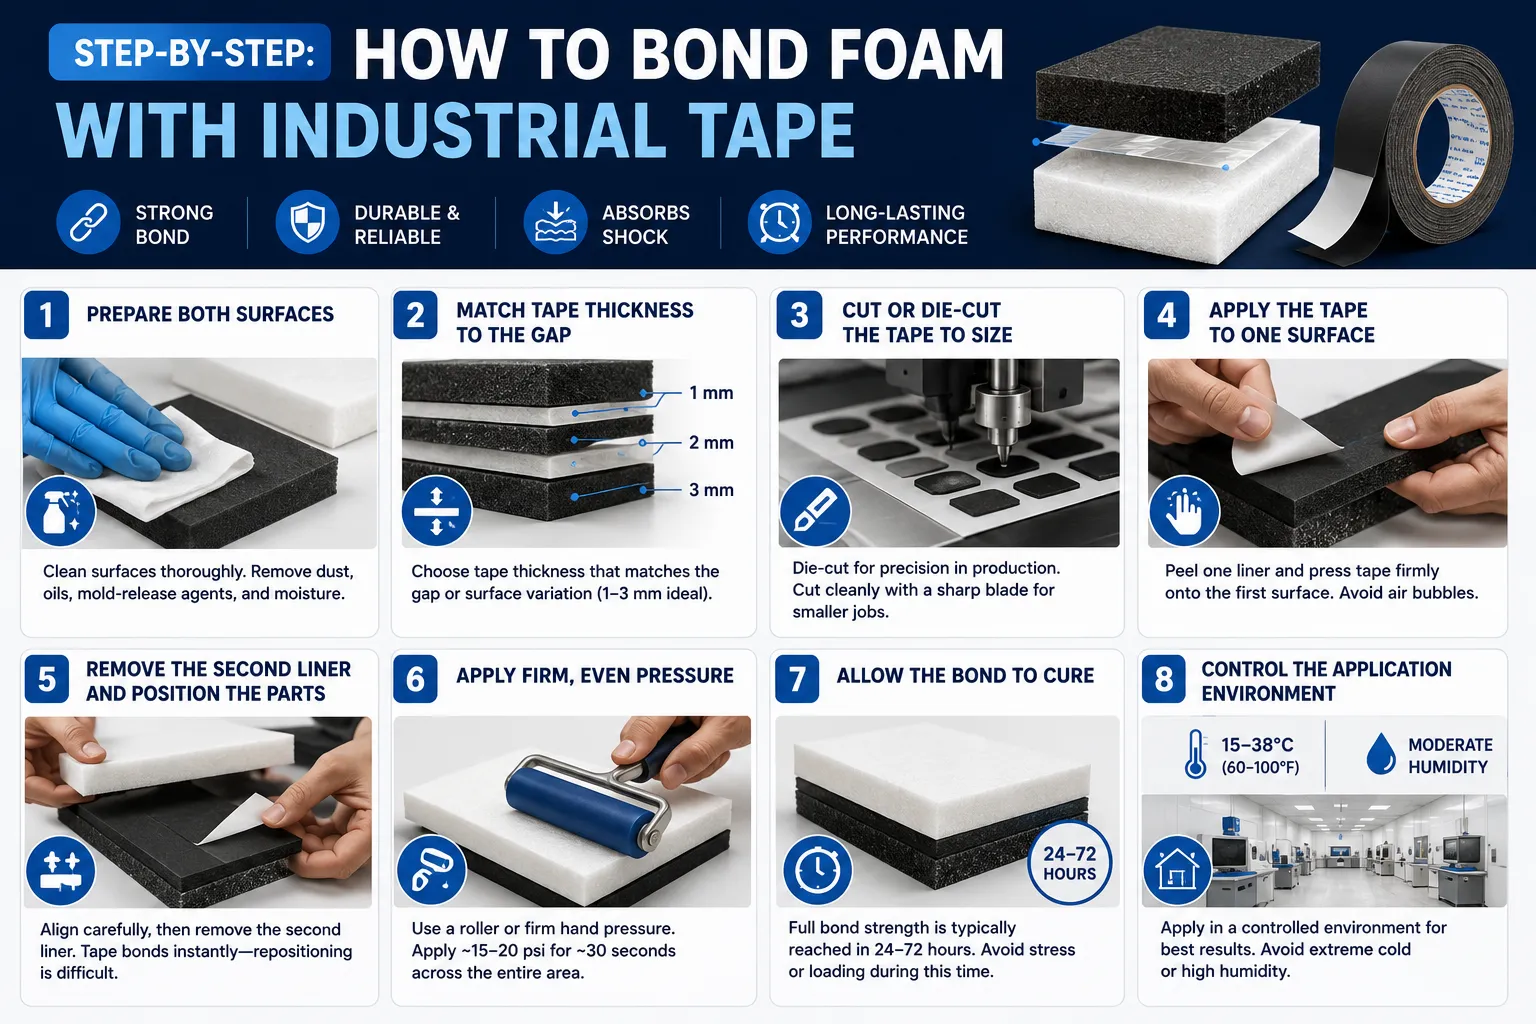
Step 1: Prepare Both Surfaces
Clean each surface thoroughly to remove dust, oils, mold-release agents, and moisture. Even a small amount of contamination can prevent the adhesive from making full contact. For plastics and low-surface-energy materials, an adhesion-promoting primer may be required before the tape is applied.
Step 2: Match Tape Thickness to the Gap
Select a tape thickness that matches the gap or surface variation you’re bonding across. Thicker, more conformable foam tapes can accommodate 1–3 mm of surface irregularity, while thinner tapes are better suited to flat, tightly toleranced parts.
Step 3: Cut or Die-Cut the Tape to Size
For production runs, tapes are typically die-cut into precise shapes matching the part geometry. For one-off or smaller jobs, cut the tape cleanly with a sharp blade to avoid frayed edges that reduce bond area.
Step 4: Apply the Tape to One Surface
Peel back one release liner and press the tape firmly onto the first surface, working from one end to the other to avoid trapping air bubbles.
Step 5: Remove the Second Liner and Position the Parts
Carefully align the two components before removing the second liner, since pressure-sensitive adhesives bond almost instantly on contact and are difficult to reposition once pressed down.
Step 6: Apply Firm, Even Pressure
Use a hand roller or firm, even hand pressure across the entire bonded area. Applying roughly 15–20 psi for about 30 seconds is a commonly recommended benchmark for many industrial foam tapes, though exact values vary by product. This step is critical, since pressure is what forces the adhesive to flow into and grip the foam’s uneven surface.
Step 7: Allow the Bond to Cure
While pressure-sensitive tape bonds immediately on contact, it continues to “wet out” the surface over time. Most industrial foam tapes reach full bond strength within 24 to 72 hours, so avoid putting stress, load, or flexing on the joint until this window has passed.
Step 8: Control the Application Environment
Apply tape in a climate-controlled space where possible. A working range of roughly 15–38°C (60–100°F) with moderate humidity is typical for reliable adhesion; cold temperatures stiffen the adhesive, while high humidity can slow curing and weaken initial tack.
Also read our article on What is the difference between wall tile and grout?
Common Bonding Failures and How to Avoid Them
- Delamination between the foam and adhesive — usually caused by poor surface prep or using a laminated tape on a foam that would bond better with a direct wet-coat adhesive
- Cohesive failure through the foam itself — the tape’s adhesive bond outperforms the foam’s internal strength, causing the foam to tear rather than the bond to release; this typically signals the adhesive was strong enough, but the foam grade may need to be reconsidered for the load involved
- Insufficient wet-out — happens when pressure wasn’t applied evenly or long enough, leaving parts of the surface without full adhesive contact
- Premature stress on the bond — loading or flexing the joint before the recommended cure window allows the adhesive to fail before reaching full strength
- Wrong adhesive-to-substrate match — using a general-purpose adhesive on a low-surface-energy plastic or a mismatched foam type, resulting in weak or short-lived adhesion
Why Use Tape Instead of Liquid Adhesives or Fasteners for Foam?
- No mixing, curing ovens, or clamping required, unlike two-part liquid adhesives
- Instant handling strength since pressure-sensitive tape bonds on contact
- Cleaner process with no drips, spills, or excess material to dispose of
- Better vibration and shock absorption than rigid mechanical fasteners, since the foam layer itself dampens movement
- No drilled holes, which preserves the integrity of thin or finished surfaces and avoids leak points
- Consistent, repeatable bond quality, since tape thickness and adhesive coating are manufactured to tight tolerances, unlike hand-mixed liquid adhesives
Common Industrial Applications of Foam Bonding Tape
- Automotive — sealing and cushioning around windows, sunroofs, trunks, doors, and mounting emblems or trim
- Construction — window and door glazing, weatherstripping, and insulation sealing to block air, moisture, and dust
- HVAC — sealing ductwork joints and padding to prevent air and moisture leakage
- Electronics — securing circuit boards, displays, and batteries inside device housings while absorbing shock
- Appliances — bonding gaskets and insulation panels to metal or plastic housings without welding or rivets
- Signage and displays — mounting panels, nameplates, and lightweight components to walls or frames
Also read our article on How to fix chips in wood furniture?
Frequently Asked Questions
How long does foam tape take to reach full strength?
Most industrial foam tapes bond immediately on contact but reach their full rated strength within 24 to 72 hours, depending on the adhesive type and environmental conditions.
Can foam tape replace screws or rivets?
Yes, in many applications. Foam tape distributes stress evenly across the bonded area, avoids drilled holes, and dampens vibration better than rigid fasteners, which is why it’s widely used to replace mechanical fasteners in automotive trim, appliances, and signage.
Does foam tape work on curved or textured surfaces?
Yes, as long as the tape’s thickness and conformability match the degree of surface variation. More flexible, thicker foam tapes handle greater irregularities, while thin tapes are better suited to flat surfaces.
What causes foam tape bonds to fail?
The most common causes are poor surface preparation, mismatched adhesive-to-substrate chemistry, insufficient application pressure, and loading the joint before the recommended cure time has passed.
Is silicone adhesive necessary for bonding silicone foam?
It’s strongly recommended. Silicone-based adhesives bond far more reliably to silicone foams and sponges than acrylic or rubber adhesives, which struggle to adhere to silicone’s low-surface-energy chemistry.
Conclusion
Bonding foam successfully comes down to matching the right adhesive chemistry to both the foam and the substrate, preparing surfaces properly, and applying firm, even pressure so the adhesive can wet out foam’s naturally uneven surface. Done correctly, industrial foam tape delivers a bond that’s faster to apply than liquid adhesive, more forgiving of surface irregularities than rigid fasteners, and durable enough to hold up under vibration, temperature swings, and years of real-world use.
Last modified: July 14, 2026