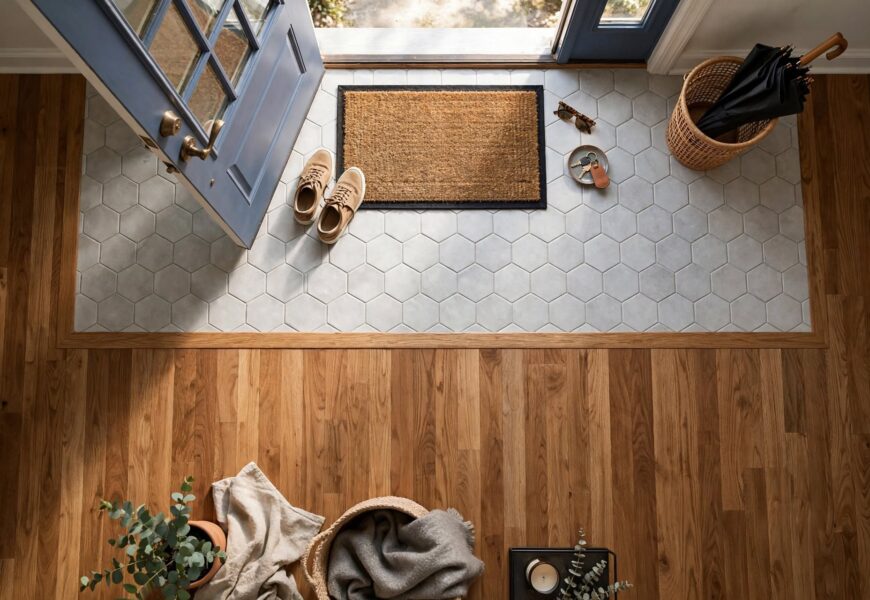
The tricky part of moving from hardwood into tile isn’t picking flooring you like — it’s making the seam where they meet look like a decision rather than an accident. Because the two materials are built up differently underneath, they almost never sit at exactly the same height, which means the transition itself needs some planning before you get there.
Quick Answer: To transition from hardwood to tile, first account for the height difference between the two materials — tile assemblies (tile, thin-set mortar, and backer board) typically finish between 5/8 and 3/4 inch, while hardwood finishes around 3/4 inch for solid wood or less for engineered and prefinished options. Depending on how close those heights land, you’ll either achieve a flush transition (if the heights closely match), use a T-molding or metal transition strip to bridge a height gap, or frame the tile section with a border of hardwood planks for a more decorative, intentional-looking break between materials.
Here’s how to plan the height difference correctly, which transition method fits your situation, and how to install it so the result looks deliberate.
Why the Height Difference Happens
Hardwood and tile are built up from completely different layers, which is the root cause of almost every transition challenge:
- Hardwood flooring typically finishes around 3/4 inch for solid, sand-in-place wood, though prefinished hardwood and engineered wood can range from as thin as 3/8 inch up to 3/4 inch.
- Tile flooring is built from several stacked layers — the tile itself, a layer of thin-set mortar, and often a cement backer board or uncoupling membrane underneath — which typically brings the finished height to somewhere between 5/8 inch and over 3/4 inch.
Because of these differing constructions, tile very commonly ends up sitting slightly higher than hardwood, which is the main technical problem any transition plan needs to solve.
Option 1: Flush Transition (No Visible Strip)
If your hardwood and tile heights land close enough together — generally within the 1/2 to 3/4 inch range — it’s possible to achieve a flush transition with just a thin grout line or color-matched caulk marking the seam. This is the cleanest, most modern-looking option, but it requires precise planning:
- Building up the subfloor under the tile side with additional underlayment (typically 1/4 or 1/2 inch fiberboard or cement board) to match the hardwood’s height as closely as possible.
- Confirming exact material thicknesses before installation begins, since even small mismatches (an eighth of an inch or so) become noticeable in a flush transition.
If your subfloor needs adjustment to make this option work, our guide on what a subfloor is covers what to check and prepare before either flooring type goes down.
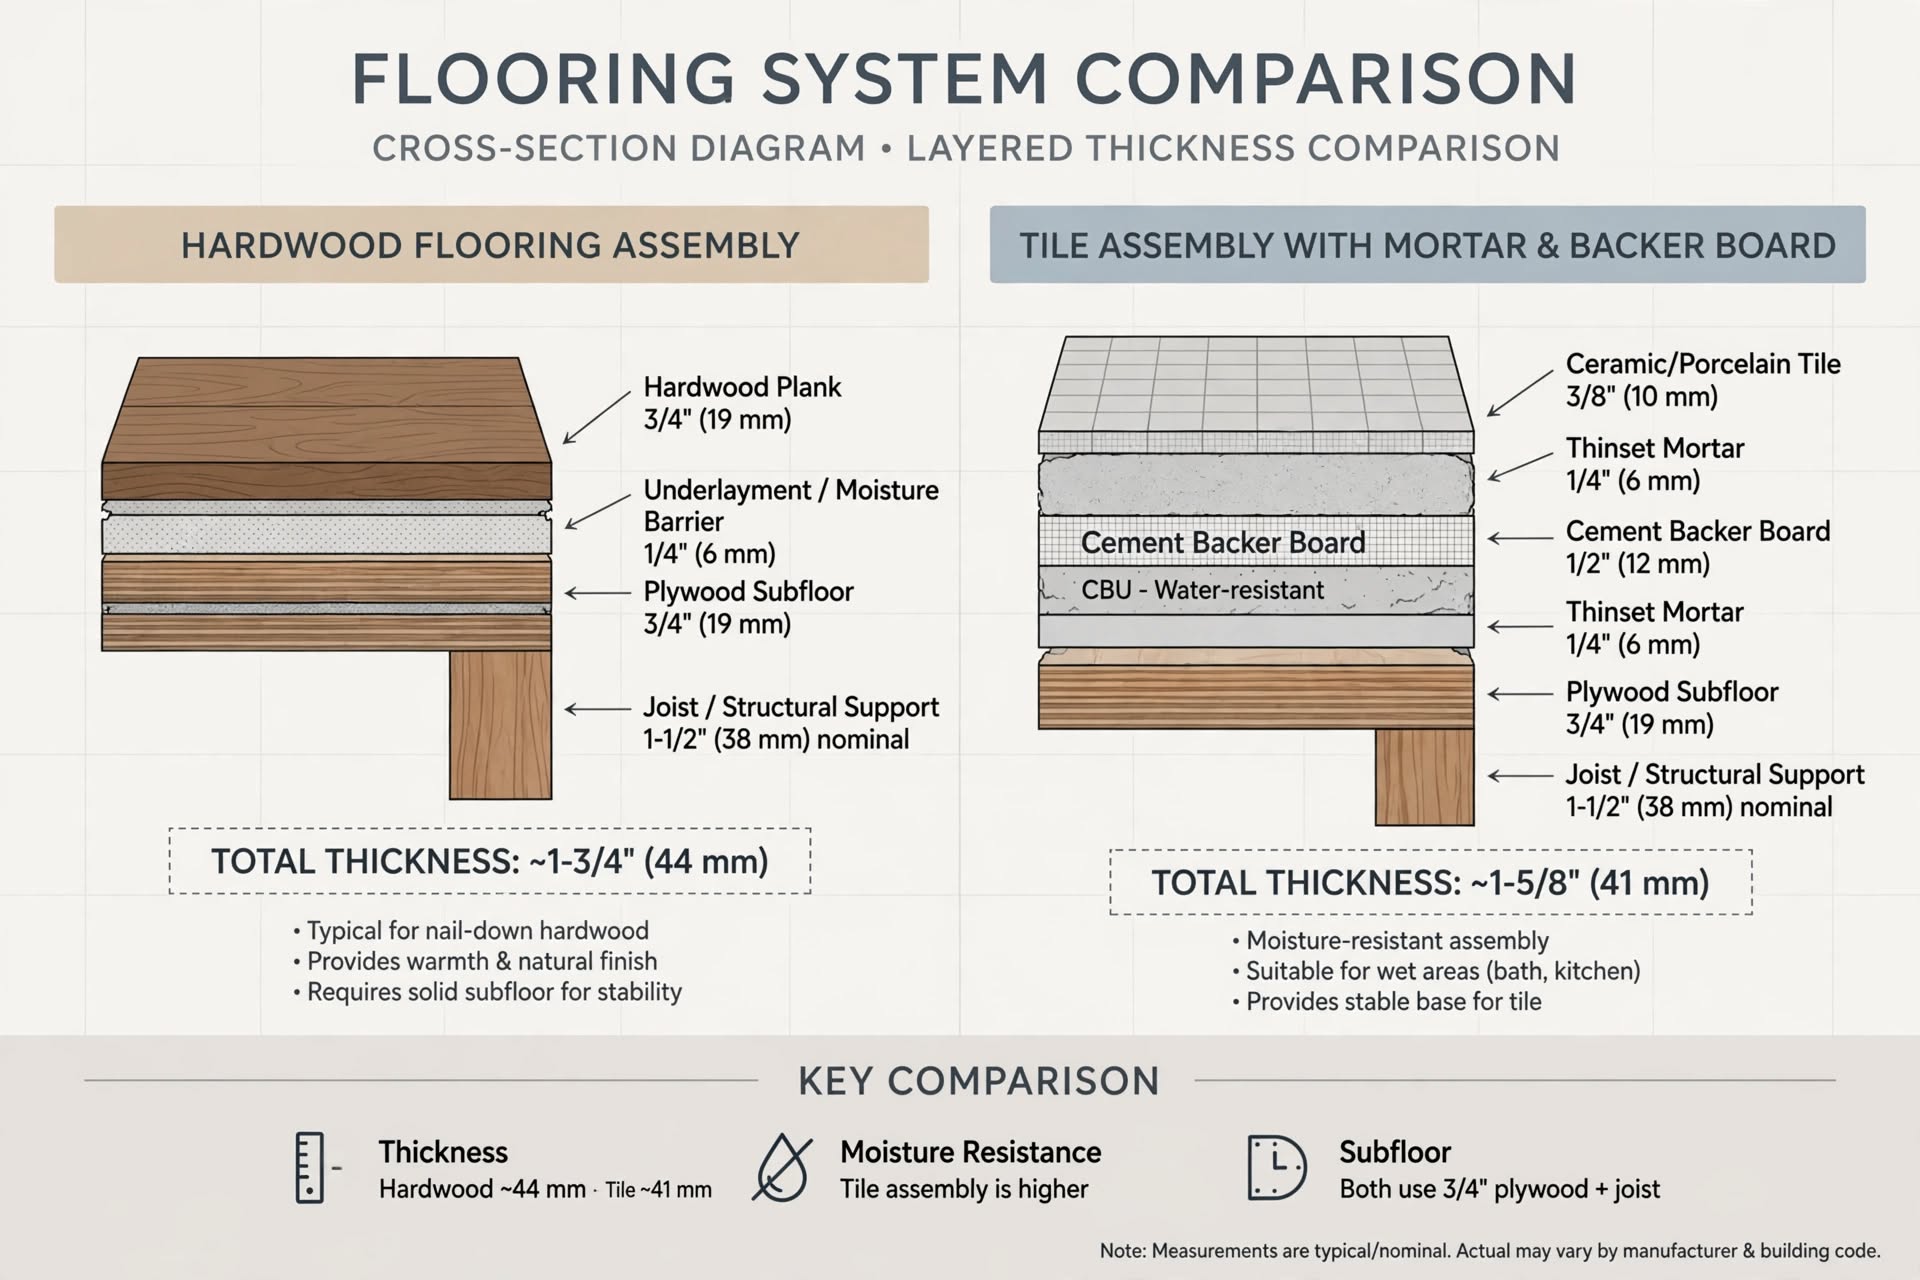
Tile’s mortar and backer board layers typically make it sit higher than hardwood, which is the core challenge in any transition.
Option 2: T-Molding or Metal Transition Strip
This is the most common and forgiving solution when the height difference is too significant for a flush transition:
- T-molding works well when both materials are close to the same height, bridging a small gap with a low-profile strip.
- Metal transition strips (often aluminum) are specifically effective at bridging a more noticeable height gap, since they’re durable enough to handle the step-down from tile to hardwood without wearing out at the edge.
- Strips are typically secured with adhesive or screws into the subfloor, positioned precisely at the point where the two materials meet.
According to Engineer Fix’s technical guide, hardwood floors require an expansion gap — typically between 1/2 and 3/4 inch — to accommodate seasonal humidity-driven movement, and this gap needs to be cleared of debris and properly sized before the transition strip is secured in place.
Option 3: Wood Border or Framed Transition
For a more decorative approach, especially in spaces like mudrooms, breakfast nooks, or entryways, framing the tile section with a border of hardwood planks creates an intentional, designed-looking break between materials rather than a simple functional seam:
- A 1-2 row border of hardwood capping the cut plank ends provides a clean, straight edge for the tile installation to butt up against.
- This approach works particularly well when the hardwood planks run perpendicular to the tile, since the border gives the wood its own finished edge rather than an abrupt cut line.
- In some cases, if the tile itself is large enough to function as its own clean straight edge, a separate wood border isn’t even necessary — the two materials can meet directly for a simpler, still-intentional look.
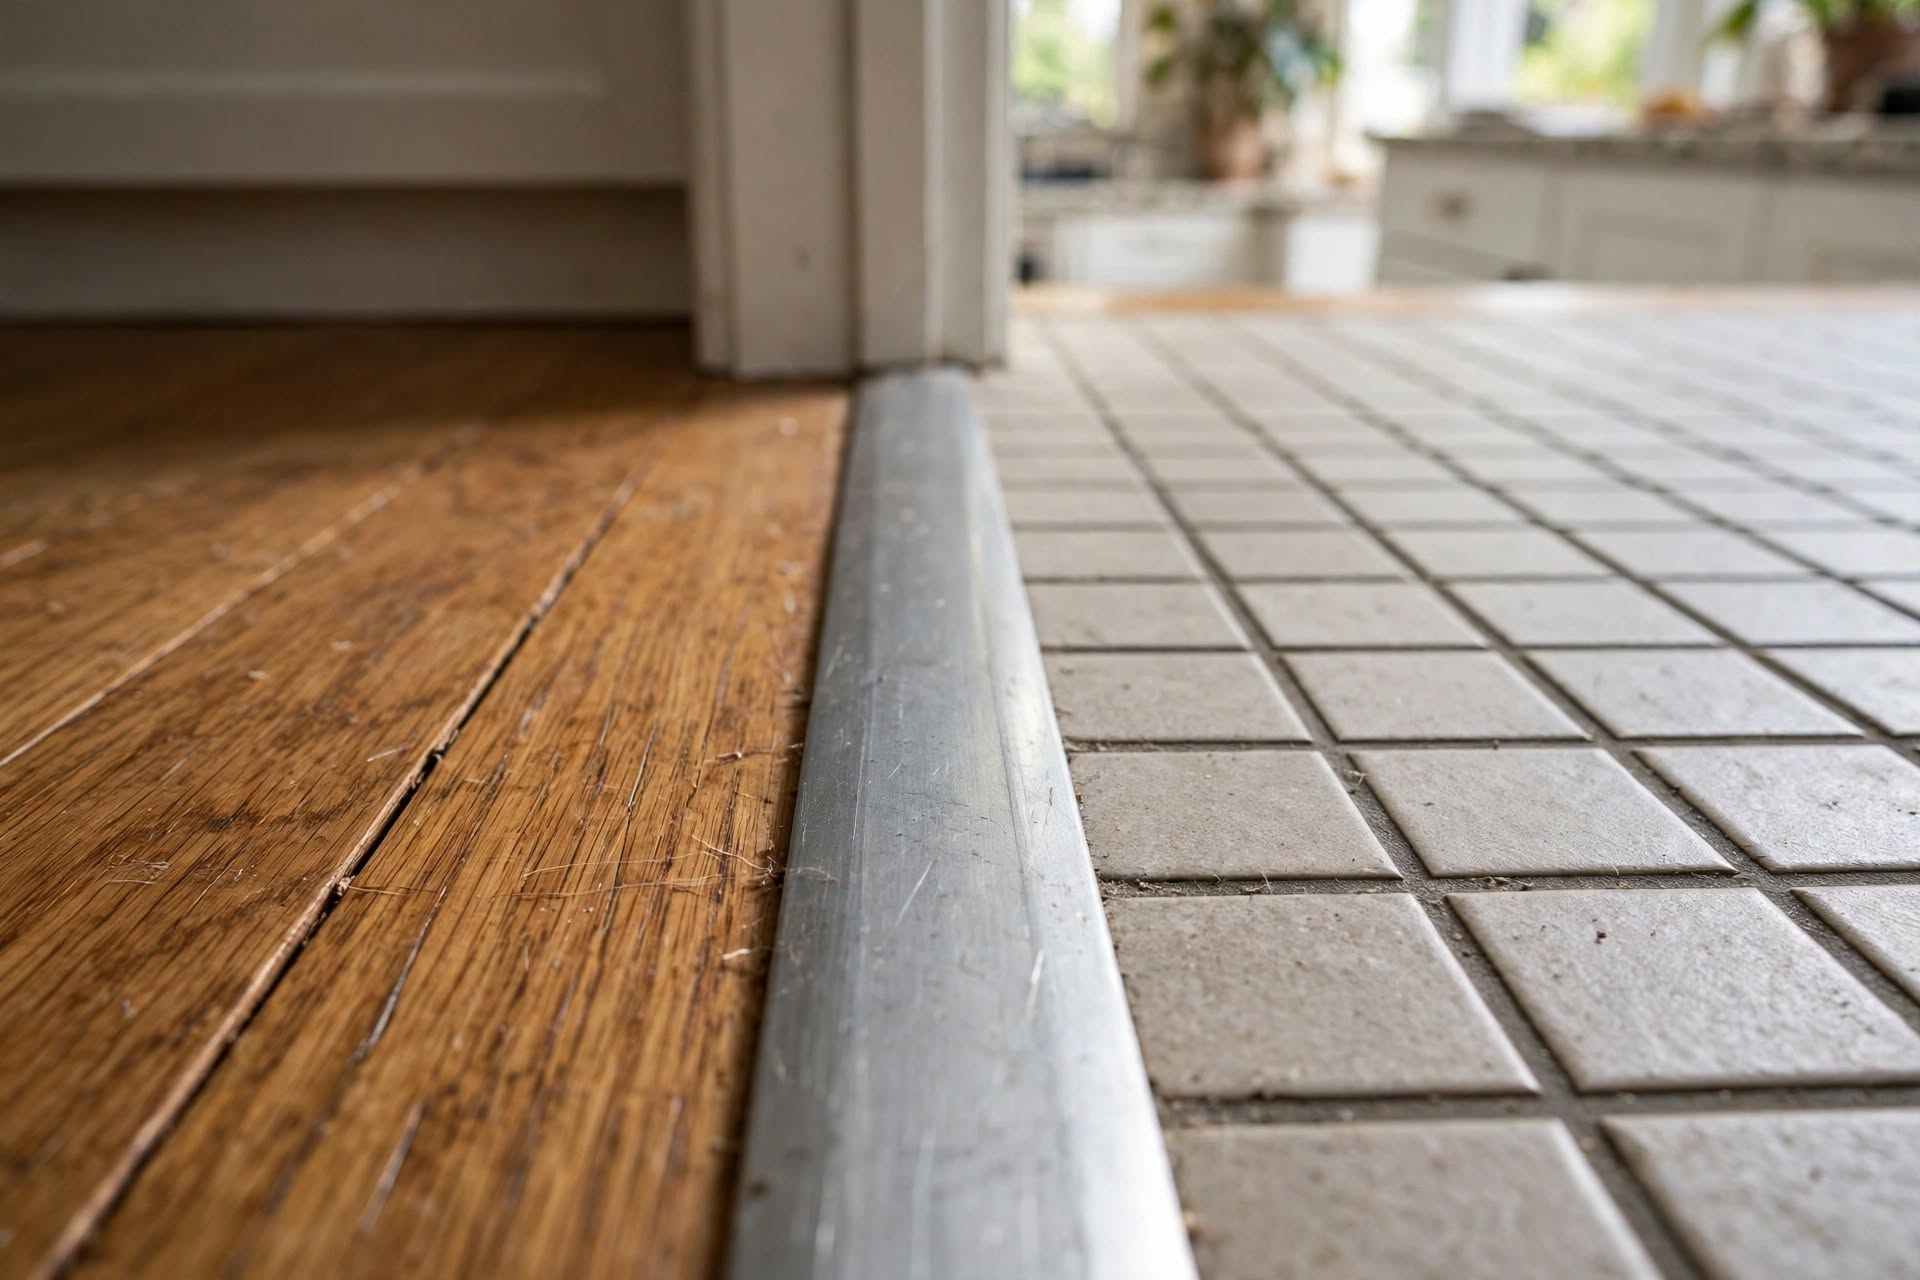
A metal transition strip bridges the height gap between hardwood and tile, which is especially useful at doorways.
Where to Place the Transition
Placement matters just as much as the transition method itself:
- Always align the transition directly under a doorway where possible, since this is the most natural, least visually disruptive place for two different flooring materials to meet.
- Avoid placing a transition in the middle of an open sightline, like the center of a large open-concept room, where the seam becomes a visual distraction rather than a natural break point.
- Use room function as a guide — moving from hardwood in a living room into tile at a kitchen or entryway threshold is a natural, expected transition point that reads as intentional.
If you’re still deciding what to put on the tile side of the transition in the first place, our guide on what flooring looks good next to hardwood covers color and material pairing in more detail before you get to the installation step.
Step-by-Step Installation Overview
- Measure both floor heights precisely at the point where they’ll meet, including all layers (mortar, backer board, underlayment).
- Decide on your transition method — flush, strip-based, or a framed wood border — based on how close those heights land.
- Prepare the subfloor on either side as needed, building up height with additional underlayment if you’re aiming for a flush transition.
- Install the tile first in most cases, since its height is more fixed once installed, then plan the hardwood or transition piece to meet it.
- Cut the transition strip to width, using a miter saw with a fine-toothed blade for a clean, straight cut that fits the doorway or opening precisely.
- Leave the proper expansion gap for the hardwood side, clearing debris from the gap before securing the transition strip.
- Secure the strip and caulk the edges if using a strip-based transition, sealing against moisture and debris accumulation underneath.
Design Tips for a More Intentional Look
- Match or contrast deliberately — either choose a transition strip color that blends with both materials, or intentionally contrast it as a design accent; avoid a near-miss color that reads as unintentional.
- Use the transition to define zones in an open floor plan, marking where a kitchen or dining area functionally begins within a larger hardwood space.
- Consider a flowing or curved edge rather than a straight line for a more custom, high-end look, particularly when tiling a small area like a breakfast nook within a larger hardwood room.
Frequently Asked Questions
Do hardwood and tile floors need a transition strip?
Usually, yes, since tile typically finishes higher than hardwood due to its mortar and backer board layers. A transition strip bridges that height difference and prevents a tripping hazard, though a flush transition without a strip is possible when both materials are built up to a closely matching height.
Where should a hardwood-to-tile transition be placed?
Ideally directly under a doorway or at a natural room boundary, since this is the least visually disruptive place for two different flooring materials to meet.
What is the best transition strip for hardwood to tile?
Metal (often aluminum) transition strips are typically best for bridging a noticeable height difference between hardwood and tile, while T-molding works well when the two materials are closer in height.
How much of an expansion gap does hardwood need at a tile transition?
Hardwood generally needs an expansion gap of about 1/2 to 3/4 inch to accommodate seasonal humidity-driven movement, and this gap should be cleared of debris before a transition strip is installed over it.
Can hardwood and tile be installed flush with no visible transition strip?
Yes, if both materials are built up to closely matching heights — often by adding extra underlayment under the tile — a flush transition using just a thin grout line or color-matched caulk is achievable.
Planning a mixed-flooring project? Explore our guides on what flooring looks good next to hardwood and good bathroom floor materials, or browse more flooring guides on Ayaan Home Decor.
Last modified: September 13, 2026