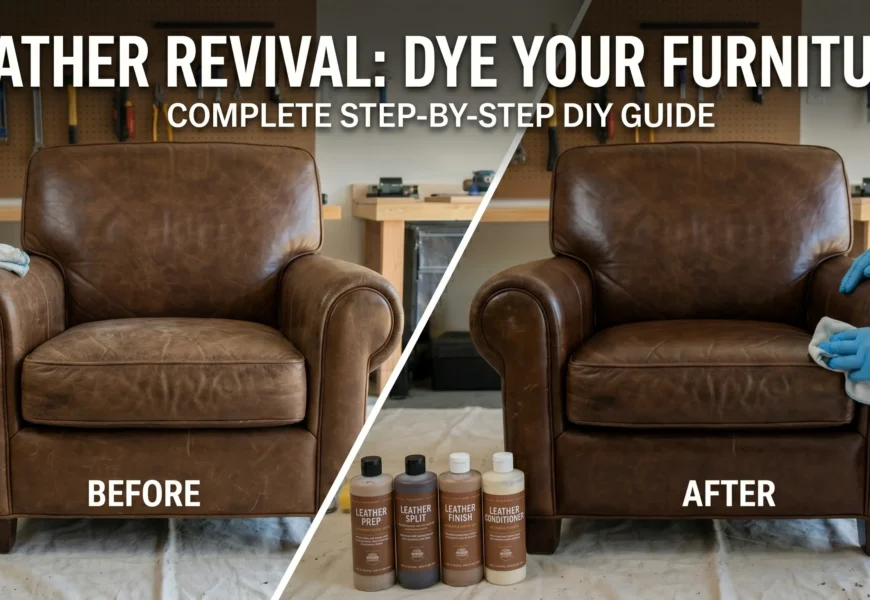
Dyeing leather furniture is an excellent DIY project to restore a worn-out armchair, change the look of a sofa, or cover up stubborn blemishes. While the process requires patience and precision, doing it yourself can give your furniture a completely fresh look at a fraction of the cost of buying new or hiring a professional.
Here is a comprehensive guide to prepping, dyeing, and finishing your leather furniture.
Materials and Tools You Will Need
Before you begin, gather all necessary tools. Working in a well-ventilated area (like a garage or a room with open windows) is highly recommended.
-
Leather Prep & Deglazer: Removes the original factory finish and oils.
-
Leather Dye: Alcohol-based dyes penetrate deeply, while water-based dyes are more flexible and have less odor. Choose a shade close to or darker than the original color.
-
Leather Finish/Sealer: Protects the dye and creates a matte, satin, or glossy sheen.
-
Applicators: High-density sponges, wool daubers, or foam brushes.
-
Microfiber cloths: For cleaning and buffing.
-
Safety gear: Rubbers gloves, a respiratory mask, and painter’s tape/drop cloths to protect your workspace.
Step 1: Preparation and Cleaning
Preparation is the most critical step of the process. If the leather is not completely free of oils, dirt, and its old protective topcoat, the new dye will not adhere evenly.
-
Vacuum and Clean: Thoroughly vacuum the furniture, ensuring you get deep into the crevices and seams to remove dust and crumbs. Wipe it down with a damp cloth.
-
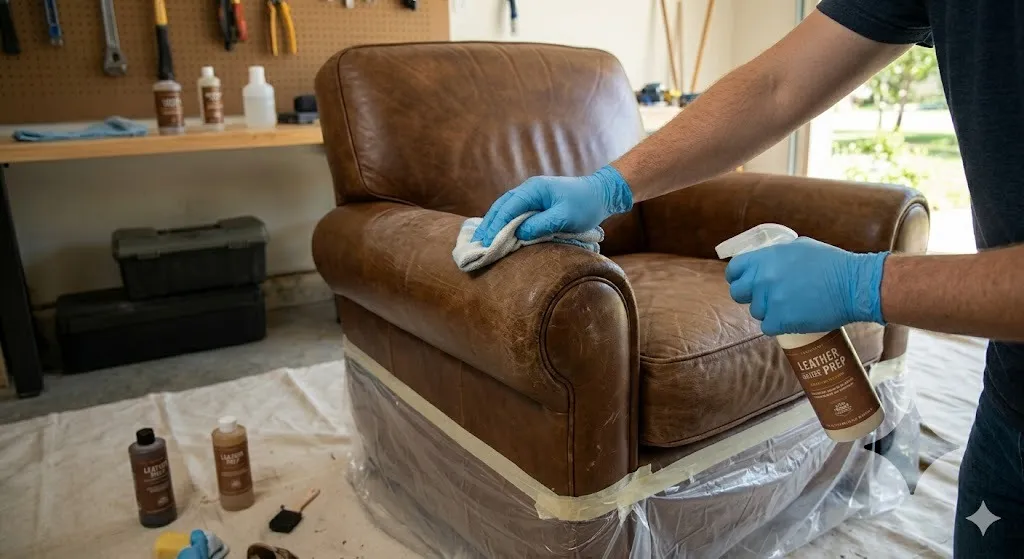
Apply the Deglazer: Put on your rubber gloves. Pour a leather deglazer or prep solution onto a clean cloth and vigorously rub it over the entire surface of the leather. This breaks down the existing manufacturer’s finish and strips away deep-seated oils. The leather will likely look dull and dry after this step—this means it is ready to absorb the dye.
-
Mask Non-Leather Parts: Use painter’s tape to protect any wooden legs, metallic hardware, or non-leather trim that you do not want dyed.
Also read our article on Does home depot carry floor mat grip tape trackid sp-006?
Step 2: Applying the Base Coat
Once the leather is dry from the prep stage, you can begin applying the dye. It is always a good idea to test a small, inconspicuous spot (like the back or underside of a cushion) first to ensure you like the color.
-
Dampen the Leather (Optional but Recommended): Lightly misting the leather with water from a spray bottle can help water-based or alcohol-based dyes absorb more uniformly.
-
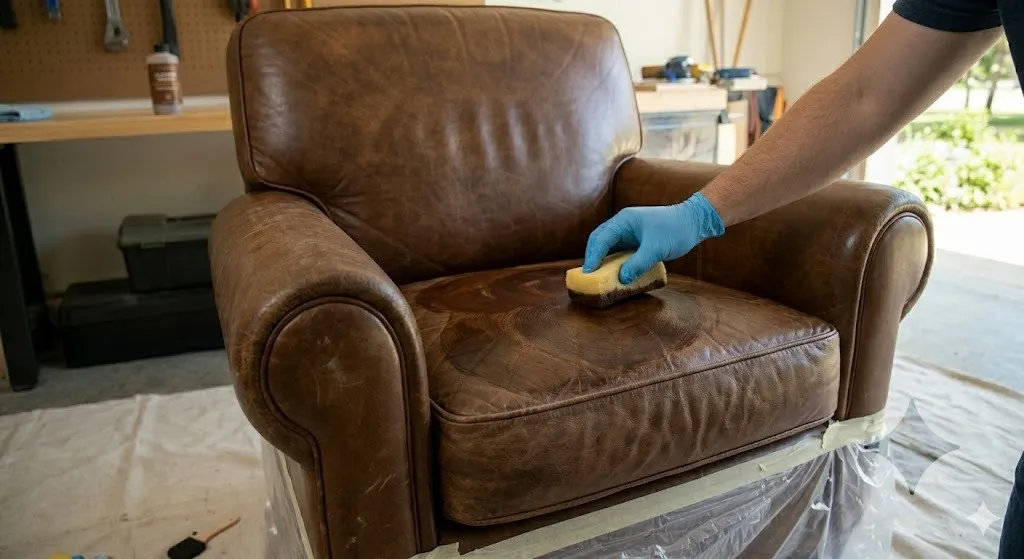
Apply in Circles: Pour a small amount of dye onto a dense sponge or wool dauber. Work in small sections, applying the dye in thin, circular motions. Avoid pouring dye directly onto the furniture to prevent heavy spotting.
-
Blend Carefully: Ensure you spread the dye into the natural creases, folds, and seams of the armchair or sofa. Keep the layers as thin and even as possible. Don’t worry if the first coat looks slightly streaky or uneven; the color will build up.
Step 3: Building and Evening the Color
Achieving a rich, professional look generally requires multiple coats of dye.
-
Allow Drying Time: Let the first coat dry completely, which usually takes anywhere from 30 minutes to a couple of hours depending on the dye type and humidity.
-
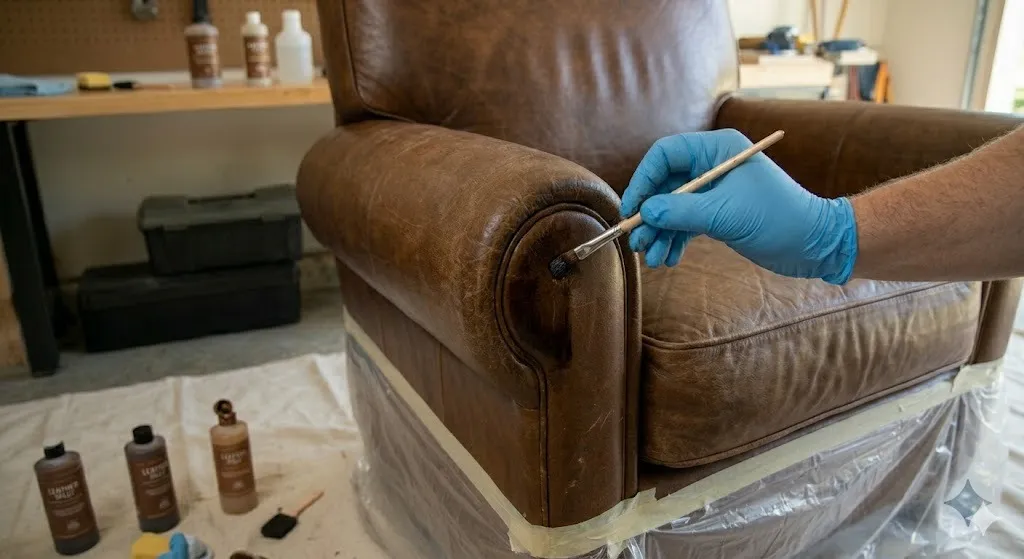
Apply Subsequent Coats: Apply a second coat of the same leather dye. This time, change the direction of your strokes (e.g., cross-hatch or linear strokes) to eliminate any circular streaks from the first layer.
-
Inspect Coverage: Continue adding thin coats until you achieve your desired saturation and even coverage across the entire piece of furniture.
Step 4: Sealing and Finishing
Unsealed leather dye can rub off onto your clothes or fade over time. Applying a leather finish or topcoat locks the color in and adds a protective barrier.
-
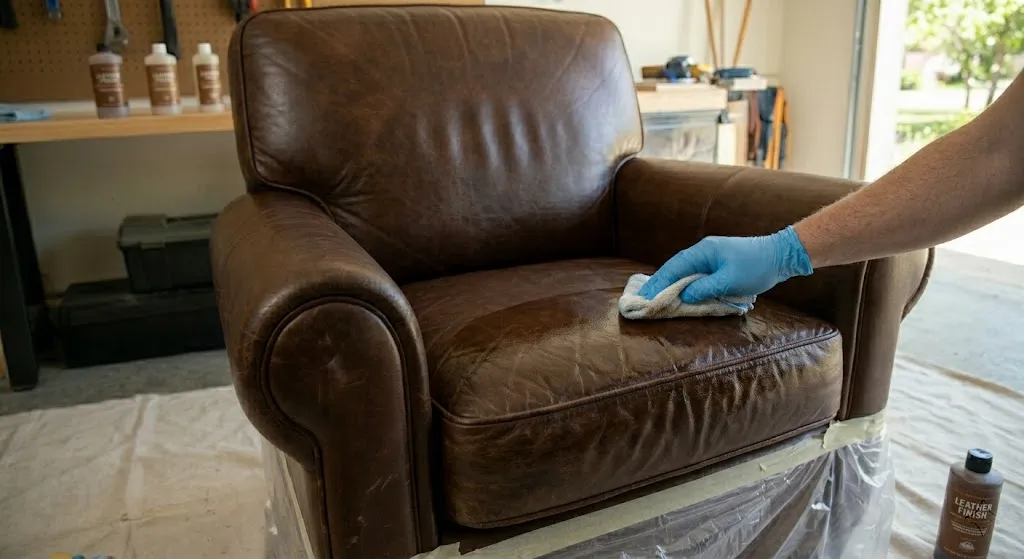
Buff the Surface: Take a clean microfiber cloth and vigorously buff the dry, dyed leather. This removes any excess dye residue that didn’t fully sink into the pores.
-
Apply the Sealer: Using a clean applicator pad or cloth, wipe on a thin, even layer of leather sealer (available in matte, satin, or gloss finishes).
-
Final Dry and Condition: Let the sealer dry for at least 24 hours. Once completely dry, apply a high-quality leather conditioner to restore the moisture and suppleness stripped away by the deglazing and dyeing process.
Also read our article on Can floor mat be applied on bricks?
Before and After Examples
Many people successfully transform beige to maroon, brown to black, or faded pieces to vibrant colors. Results vary by leather quality and technique.
Tips for Success
- Work in good lighting to catch streaks.
- Use thin layers and even pressure.
- For large color changes, more coats and thorough prep are key.
- Oil-based dyes often give richer, longer-lasting results on furniture.
- Patience is essential—rushing leads to poor adhesion or rub-off.
Maintenance After Dyeing
- Wipe with a soft dry cloth regularly.
- Condition every few months with a compatible leather conditioner.
- Avoid direct sunlight to prevent fading.
- Use throws on high-wear areas.
Troubleshooting
- Dye rubs off: Insufficient sealant or too-thick coats. Add more sealant.
- Uneven color: Buff and apply additional thin coats.
- Stiff leather: Condition well after sealing.
- Too light/dark: Additional layers or start over with stripping if needed.
Safety: Wear gloves, work in ventilated spaces, and keep away from kids/pets. Some dyes have strong fumes.
With care, your dyed leather furniture can look stunning and last for years. If your piece is valuable or antique, consider consulting a professional. Enjoy your refreshed home!
For product recommendations, search for reputable brands like Angelus, Fiebing’s, or Furniture Clinic kits tailored for furniture. Always follow the specific product instructions.
Last modified: May 17, 2026