That beautiful oak dining table you inherited from your grandparents, or the sleek walnut coffee table you splurged on last year — one clumsy move, a dropped vase, or even a playful pet, and suddenly there’s an ugly chip staring back at you. The edges are jagged, the wood underneath exposed, and it feels like the whole piece is ruined. But here’s the good news: most chips in wood furniture can be fixed at home with surprisingly simple methods. You don’t need to be a professional restorer or spend a fortune.
In 2026, with more people embracing vintage and second-hand furniture, learning basic repair skills has become both practical and satisfying. Whether the chip is small (surface-level gouge) or deeper (missing a chunk of wood), you can restore the beauty and even make the repair nearly invisible. Let’s walk through the process step by step, from quick fixes for minor damage to more involved repairs for bigger chips.
Assess the Damage First
Before grabbing any tools, take a close look:
- Minor chips or dents: Shallow, less than 1/8 inch deep — often fixable with wax sticks, touch-up markers, or household tricks.
- Medium chips: Noticeable gouges with some wood missing — best handled with wood filler or putty.
- Deep or large chips: Missing corners, edges, or big chunks — may need wood filler, epoxy, or even structural support like Bondo for heavy-duty fixes.
- Finished vs. unfinished wood: Most furniture is stained and sealed. Repairs on finished pieces focus on color matching.
Clean the area gently with a soft cloth and mild soap or mineral spirits to remove dirt, wax, or oils. This helps any filler stick properly.
Quick Fixes for Small Chips and Scratches (No Special Tools Needed)
For superficial damage, try these low-effort methods first:
- Walnut or Pecan Trick Rub the meat of a walnut or pecan directly over the chip, following the wood grain. The natural oils darken the exposed area and help blend it in. Let it sit for 5–10 minutes, then buff with a soft cloth. This works surprisingly well on lighter scratches and small chips in medium-to-dark woods.
- Oil and Vinegar Mix Combine equal parts cooking oil (olive, canola, or hemp) and white vinegar. Dip a cloth in the mixture, rub it into the chip, let it sit for 1–2 minutes, and wipe away excess. The oil nourishes the wood while the vinegar helps it penetrate. Great for reviving dry areas around chips.
- Furniture Touch-Up Markers or Crayons Affordable repair kits (available at hardware stores or online) come with multiple shades. Choose a color slightly darker than your furniture. Apply like a marker directly into the chip, then wipe excess with a paper towel. For better blending, layer lightly and let dry between coats.
Also read: What’s the difference between cabinet paint and wall paint?
Proper Repair for Medium to Deep Chips
When the damage is more noticeable, you’ll need to fill the void:
Materials you’ll need:
- Wood filler (water-based or solvent-based; color-matched if possible)
- Putty knife or plastic scraper
- Fine-grit sandpaper (220-grit or higher)
- Matching wood stain or touch-up pens
- Clear finish (polyurethane, wax, or varnish) to seal
- Soft cloths and mineral spirits for cleanup
- Optional: Wax filler sticks, epoxy putty for very hard repairs, or Bondo for large structural chips
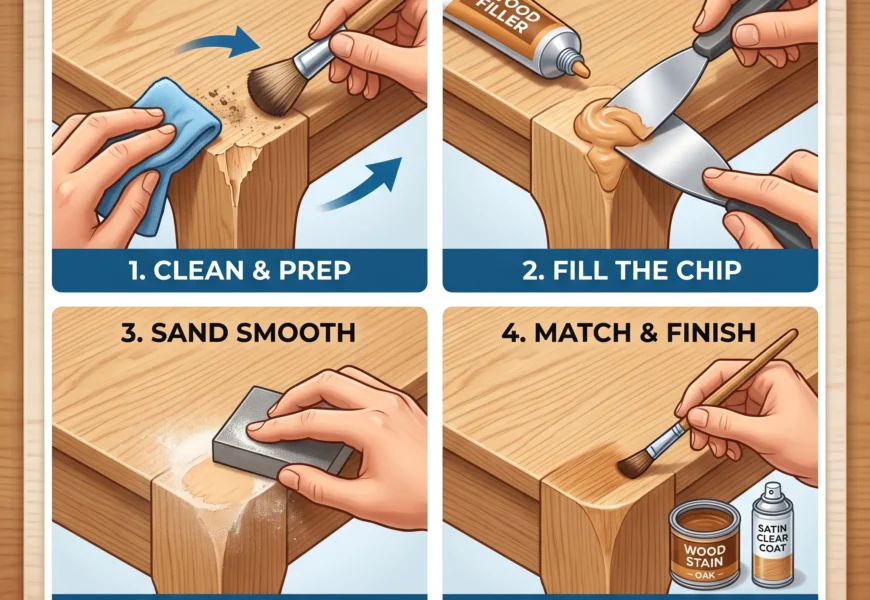
Step-by-Step Process:
Step 1: Damaged State and Initial Application
The first image captures the problem: a significant, sharp chip on the vulnerable edge of a light oak table. The repair begins by overfilling the void. Using a flexible putty knife, a generous amount of light-colored wood filler (selected to match the base wood) is pressed firmly into the defect. It is crucial to leave the filler slightly overfilled (convex) because it will shrink slightly as it dries.
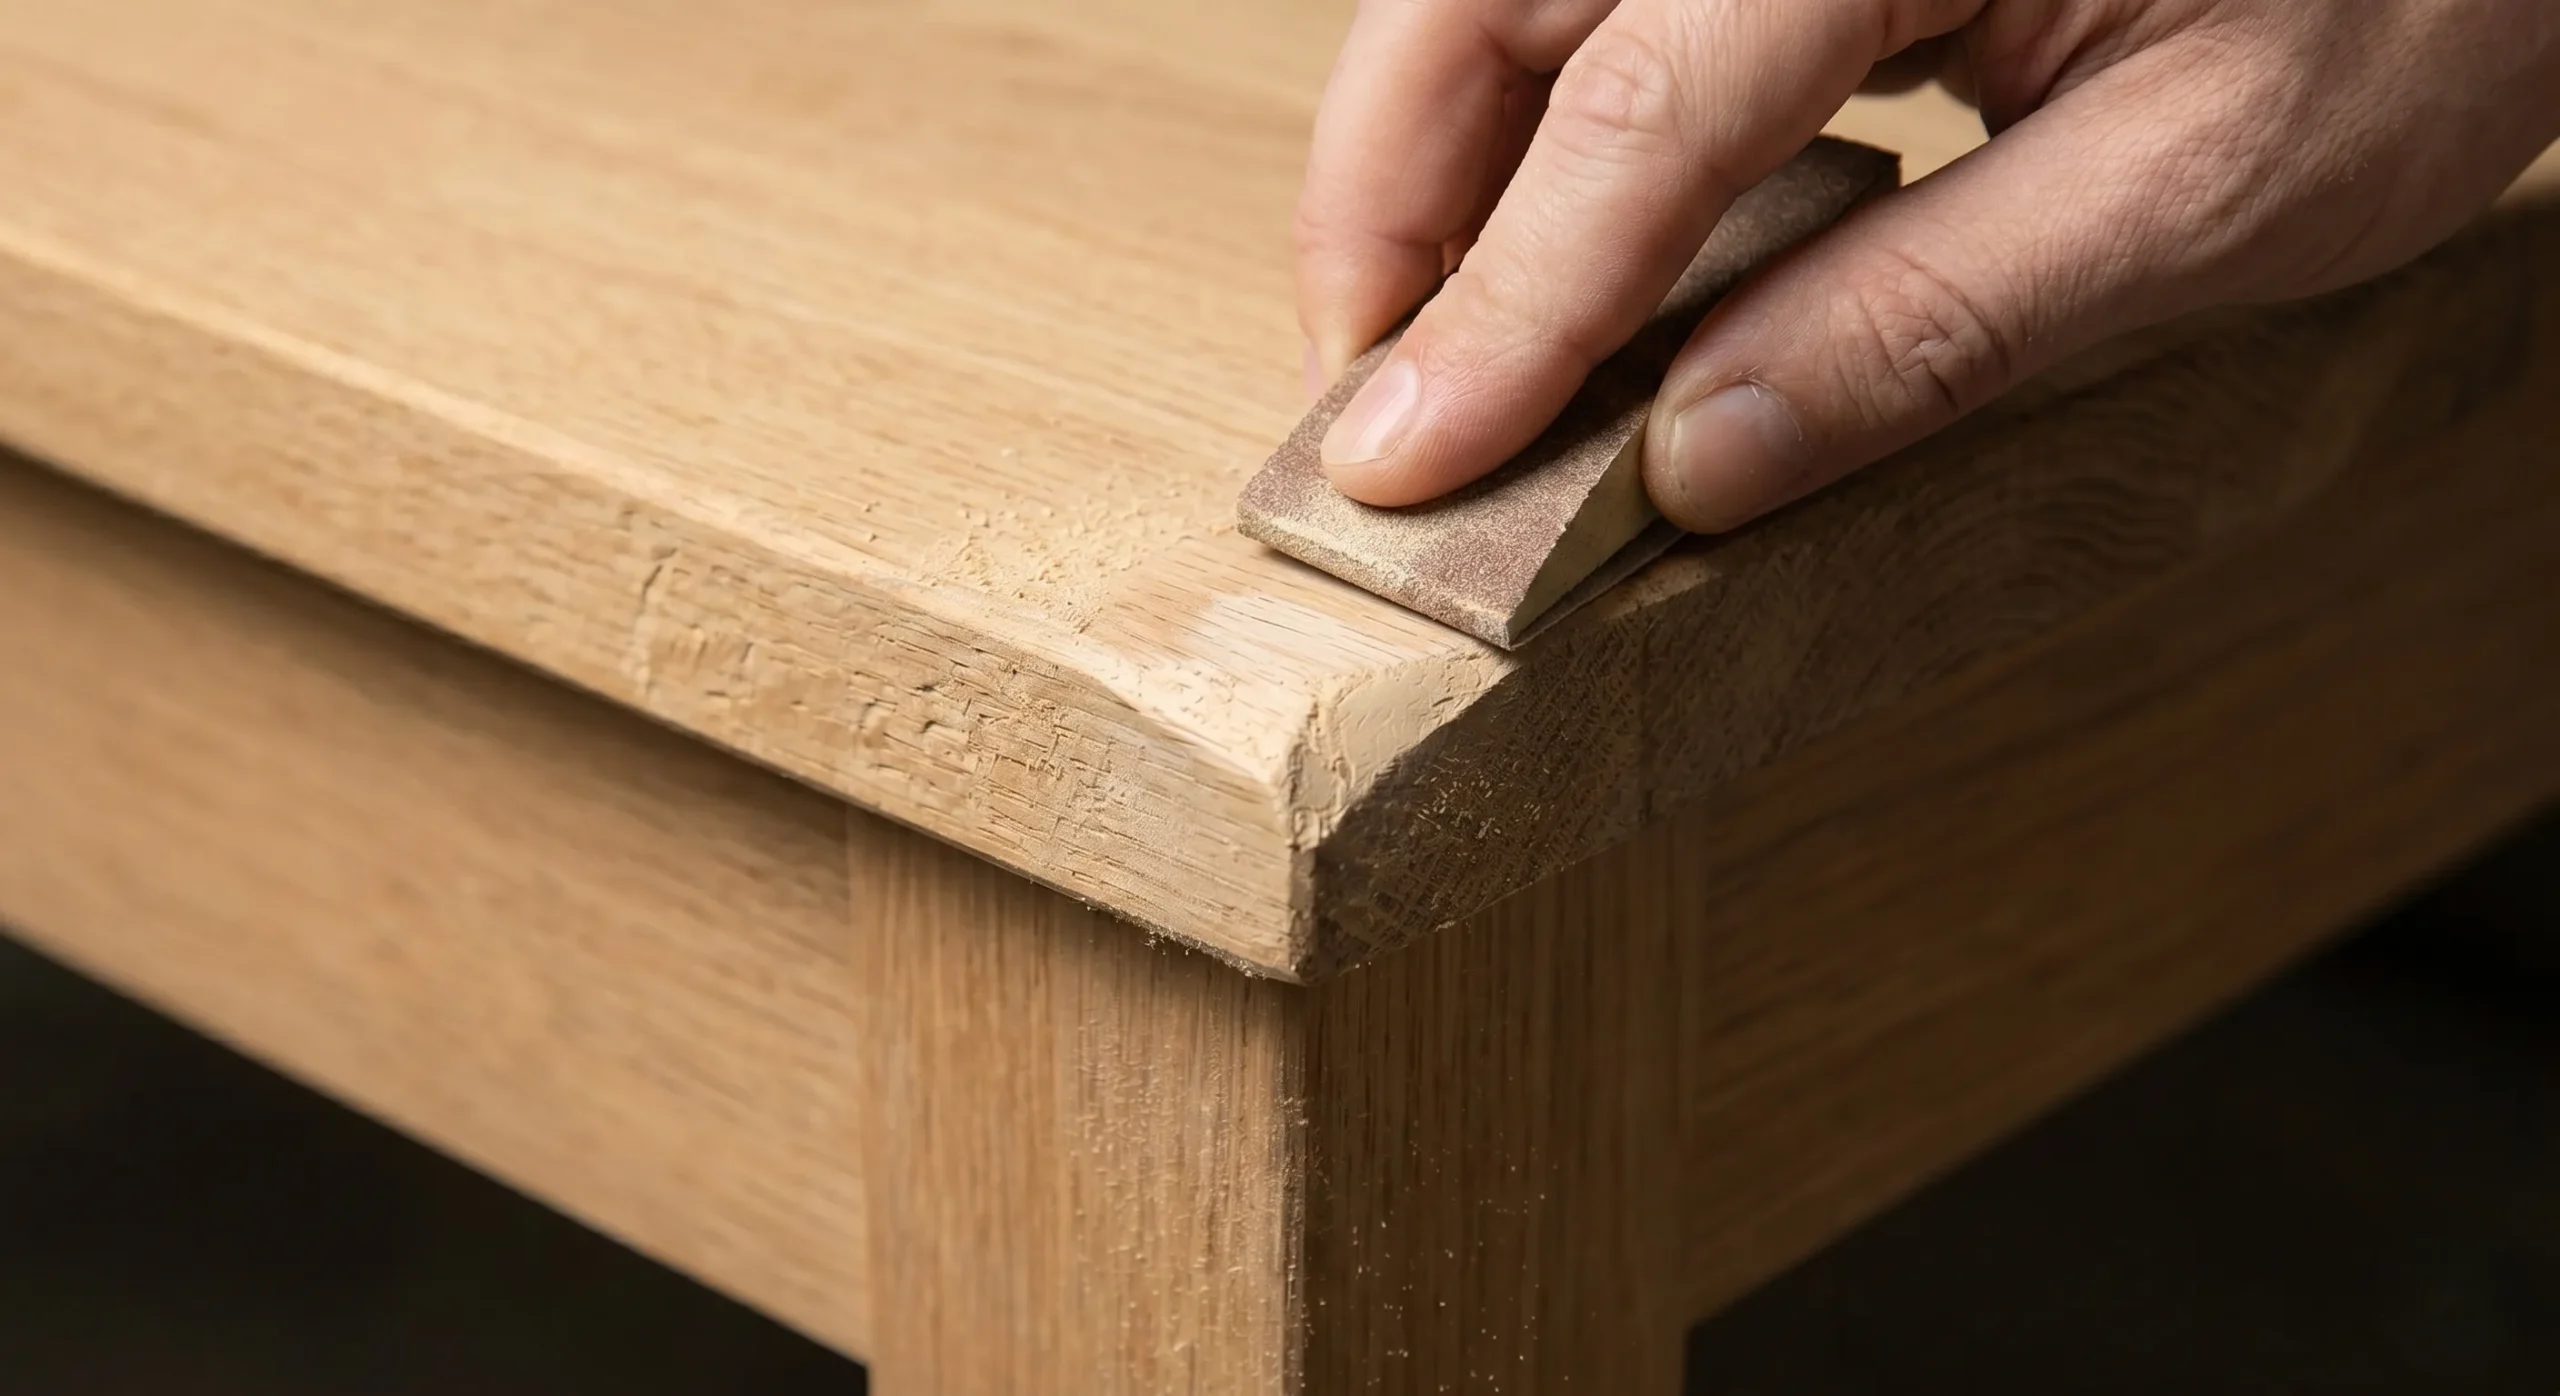
Step 2: The Sanding Process
Once the filler has dried completely (it will feel hard and look lighter), the restoration of the table’s geometry begins. In this stage, a hand is shown using a sanding block with medium-grit sandpaper. The goal is to scuff away all excess dried filler, bringing the patch perfectly flush with the adjacent wood surfaces. Fine dust now covers the area, emphasizing the transition from a messy application to a smooth, defined corner shape.
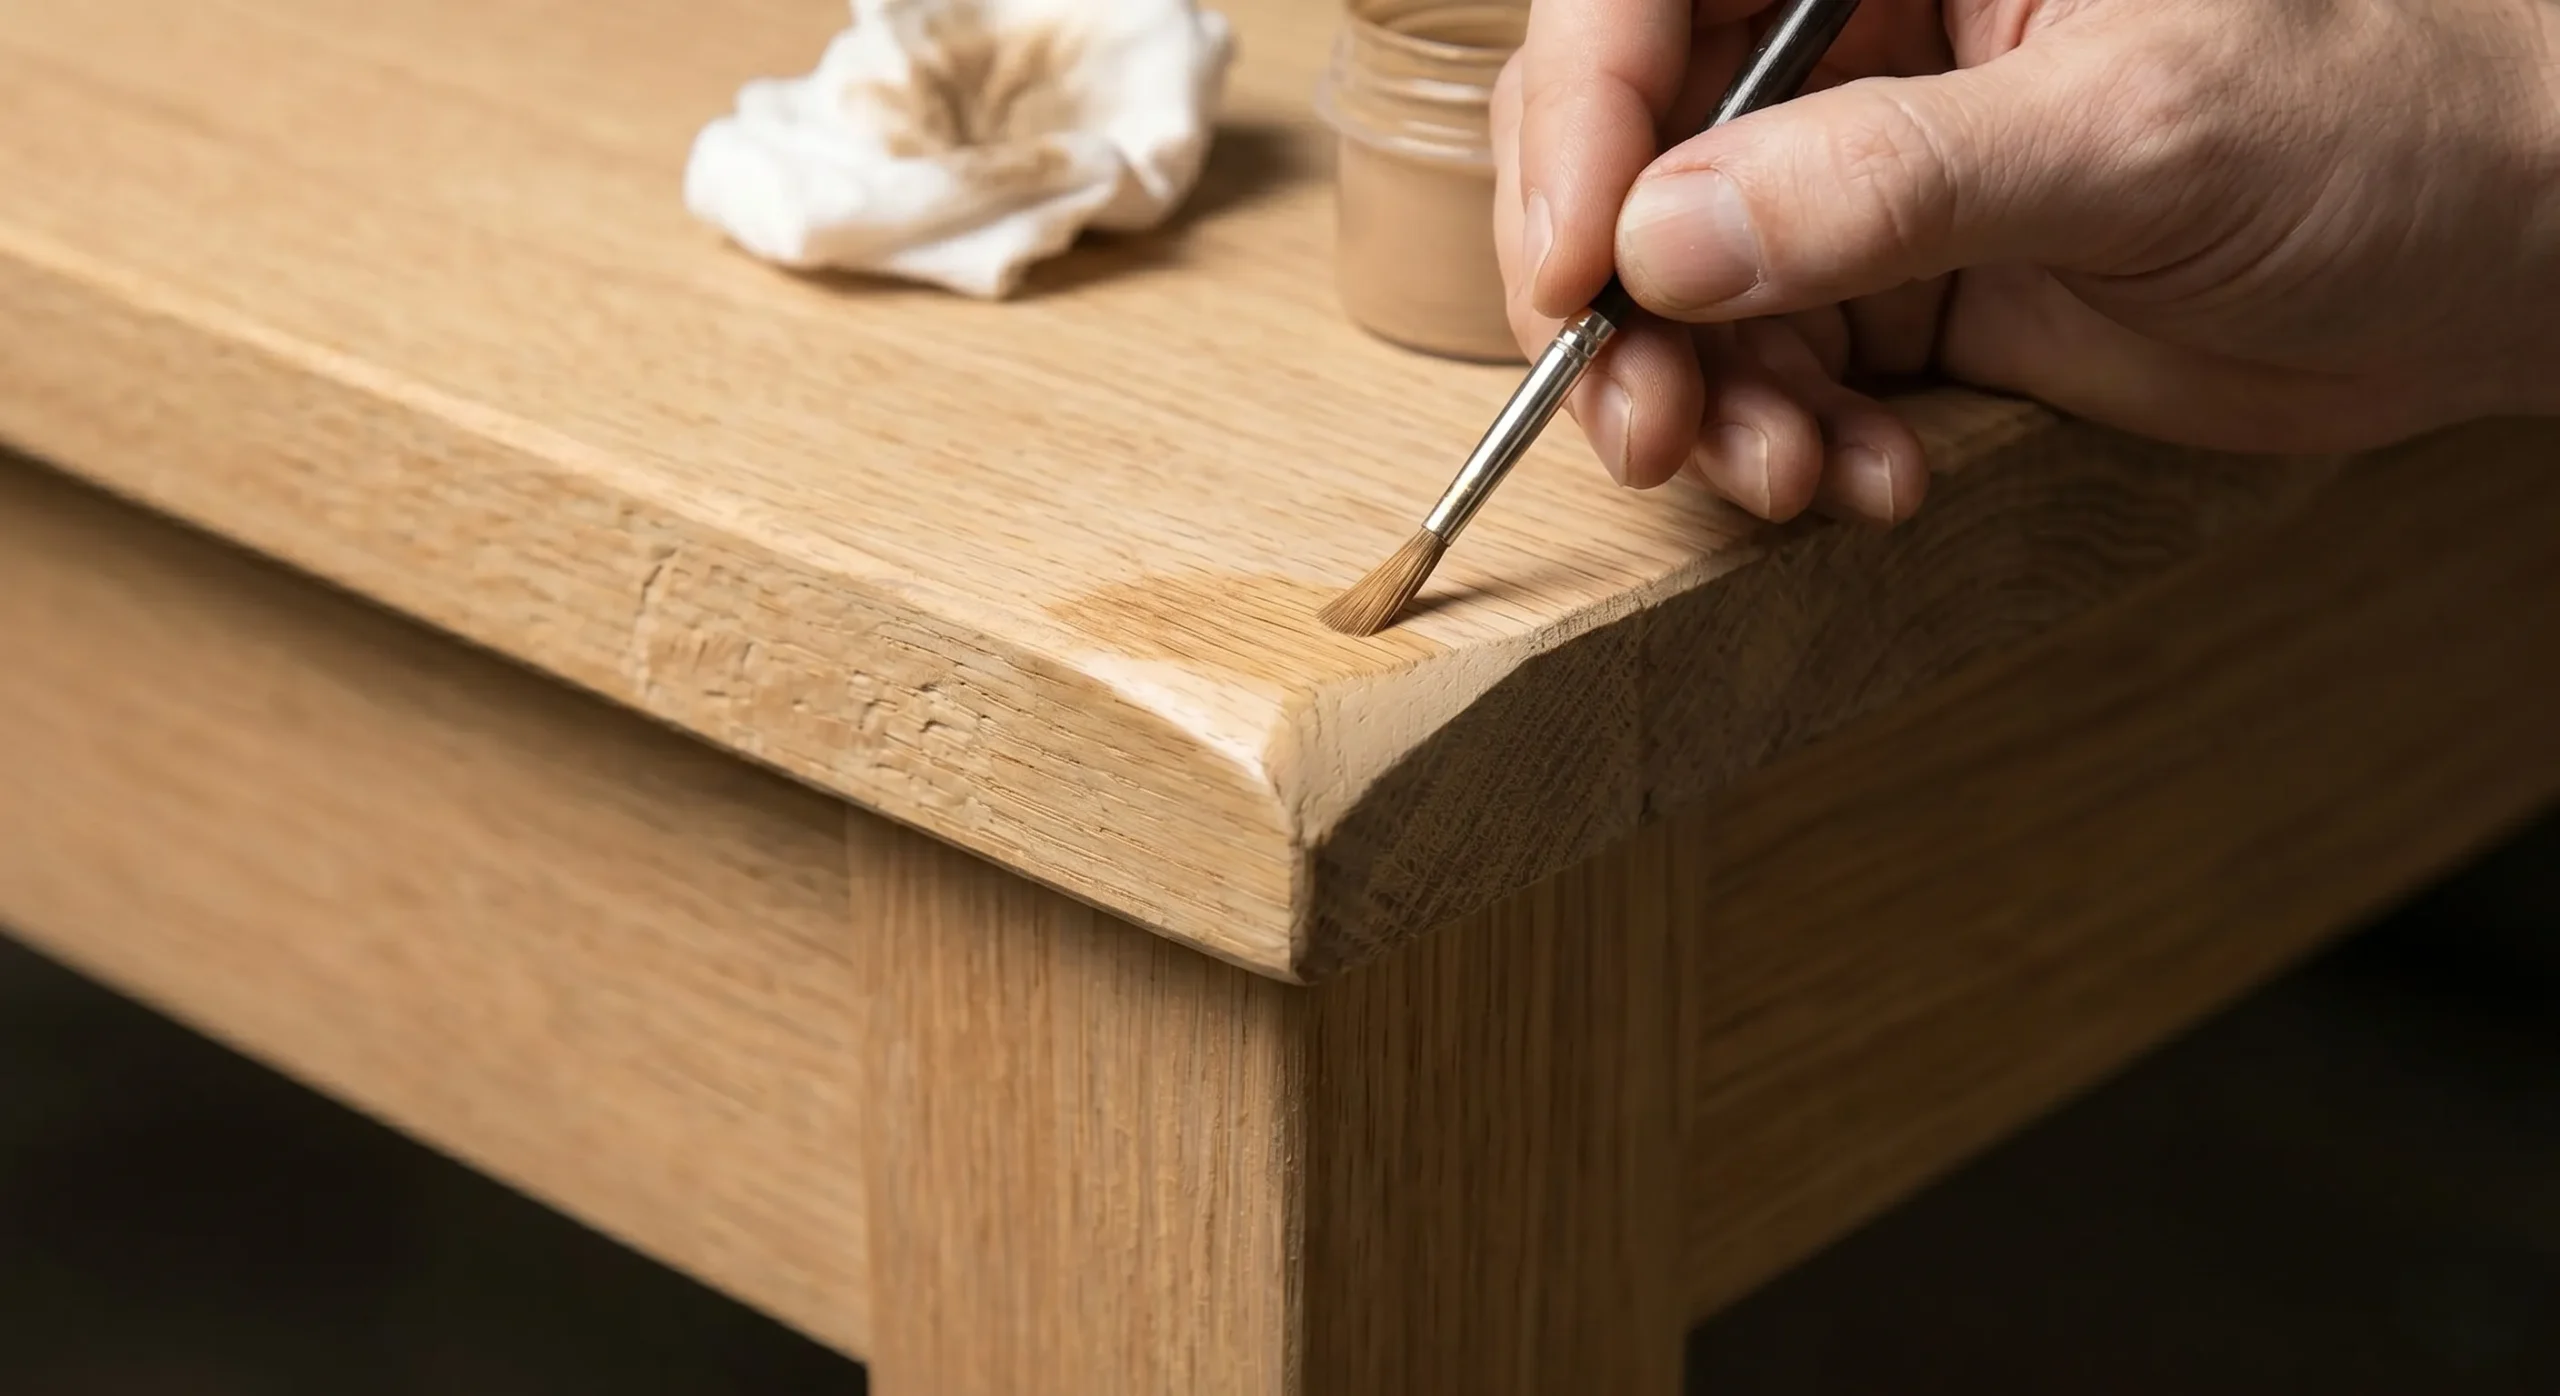
Step 3: Precise Stain Application
The previous sanding step left the corner smooth but structurally distinct, as seen in the light patch remaining in Image 1. Now, the critical process of color matching begins. This image shows a close-up of the sanded corner. Using a precise, small artist’s brush, a technician carefully applies a light oak wood stain only to the pale, absorbent filler patch. The focus is on achieving an exact color match to the surrounding, aged wood grain without darkening the surrounding area.
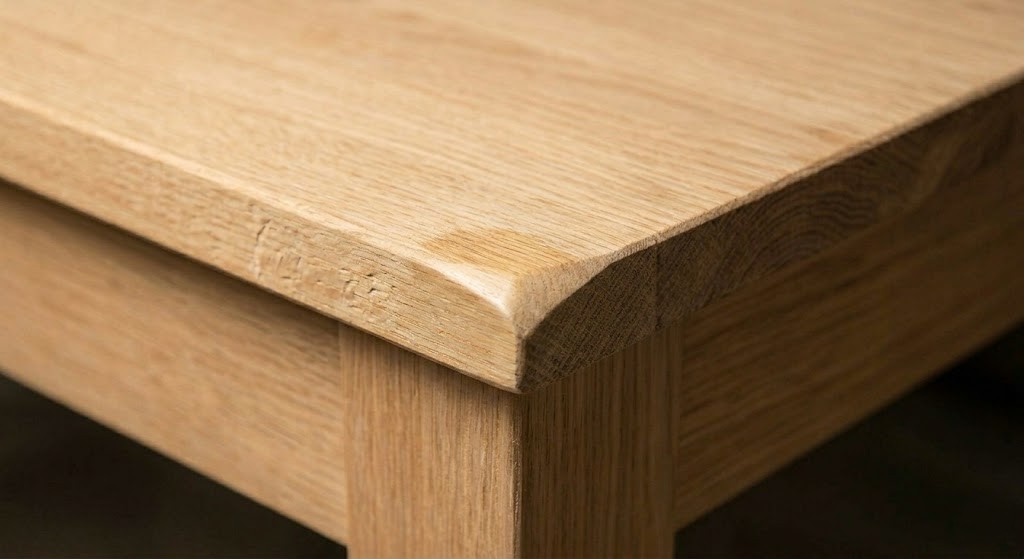
Step 4: Final Blended Result
The repair is complete. This final photograph shows the light oak table corner under soft, ambient light. The messy application (Image 0) and the visible pale patch (Image 1) are gone. The former defect is now structurally flush and the color, applied in Image 2, has dried to perfectly match the surrounding wood. A subtle, protective satin sheen covers the entire area, catching the light evenly. The repair is invisible to the casual eye.
For Large or Corner Chips (Structural Repair): Use two-part epoxy putty or auto body filler (Bondo) mixed with hardener. Press it in, shape it while soft, and sand once cured. These create a rock-hard repair that can even be drilled or shaped if needed. Then stain and finish as above.
Pro Tips for Best Results
- Color matching is key: Test fillers and stains on an inconspicuous spot first. Mix shades from repair kits if needed.
- Work with the grain: Always sand, apply, and buff in the direction of the wood grain for seamless blending.
- Patience pays off: Rushing drying times leads to shrinkage or poor adhesion. Work in a well-ventilated area.
- Prevent future chips: Use coasters, felt pads on chair legs, and avoid dragging heavy objects across surfaces.
- When to call a pro: If the furniture is antique, valuable, or the chip affects structural integrity (like a chair leg), professional restoration might be worth it to preserve value.
Many DIYers in 2026 share that fixing chips themselves not only saves money but brings a sense of pride — turning “damaged” into “loved and restored.” One common story: A family heirloom sideboard with multiple edge chips looked brand new after a weekend of careful filling, sanding, and touch-ups.
Safety and Eco-Friendly Notes
Wear gloves when using chemical fillers or solvents. Choose low-VOC (volatile organic compounds) wood fillers and water-based products when possible for a greener approach. Dispose of waste responsibly.
Final Thoughts
Chips in wood furniture are almost inevitable, but they don’t have to be permanent eyesores. With the right approach — from simple walnut rubs for tiny marks to proper wood filler and staining for deeper damage — you can bring your favorite pieces back to life. The process is forgiving, and even imperfect repairs often look better than living with the chip.
Next time you spot damage, don’t panic. Grab a few basic supplies, take your time, and enjoy the quiet satisfaction of restoration. Your furniture will thank you with many more years of beauty and service.
Whether it’s a quick touch-up or a full weekend project, fixing chips keeps the stories behind your furniture alive — chips and all.
Also read: What is the difference between latex and acrylic wall paint?
Last modified: April 18, 2026